Note: as of Feburary, 2022, the steps written below has been incorporated by the official Nix install script for macOS. This article is, therefore, obsolete.
Here are the steps for installing nix on macOS 11 Big Sur.
Preparation
Decide on which disk the nix store is to be installed. By end of this process, you'll have a disk
name like disk4.
Personally, I like looking it up in the Disk Utility app:
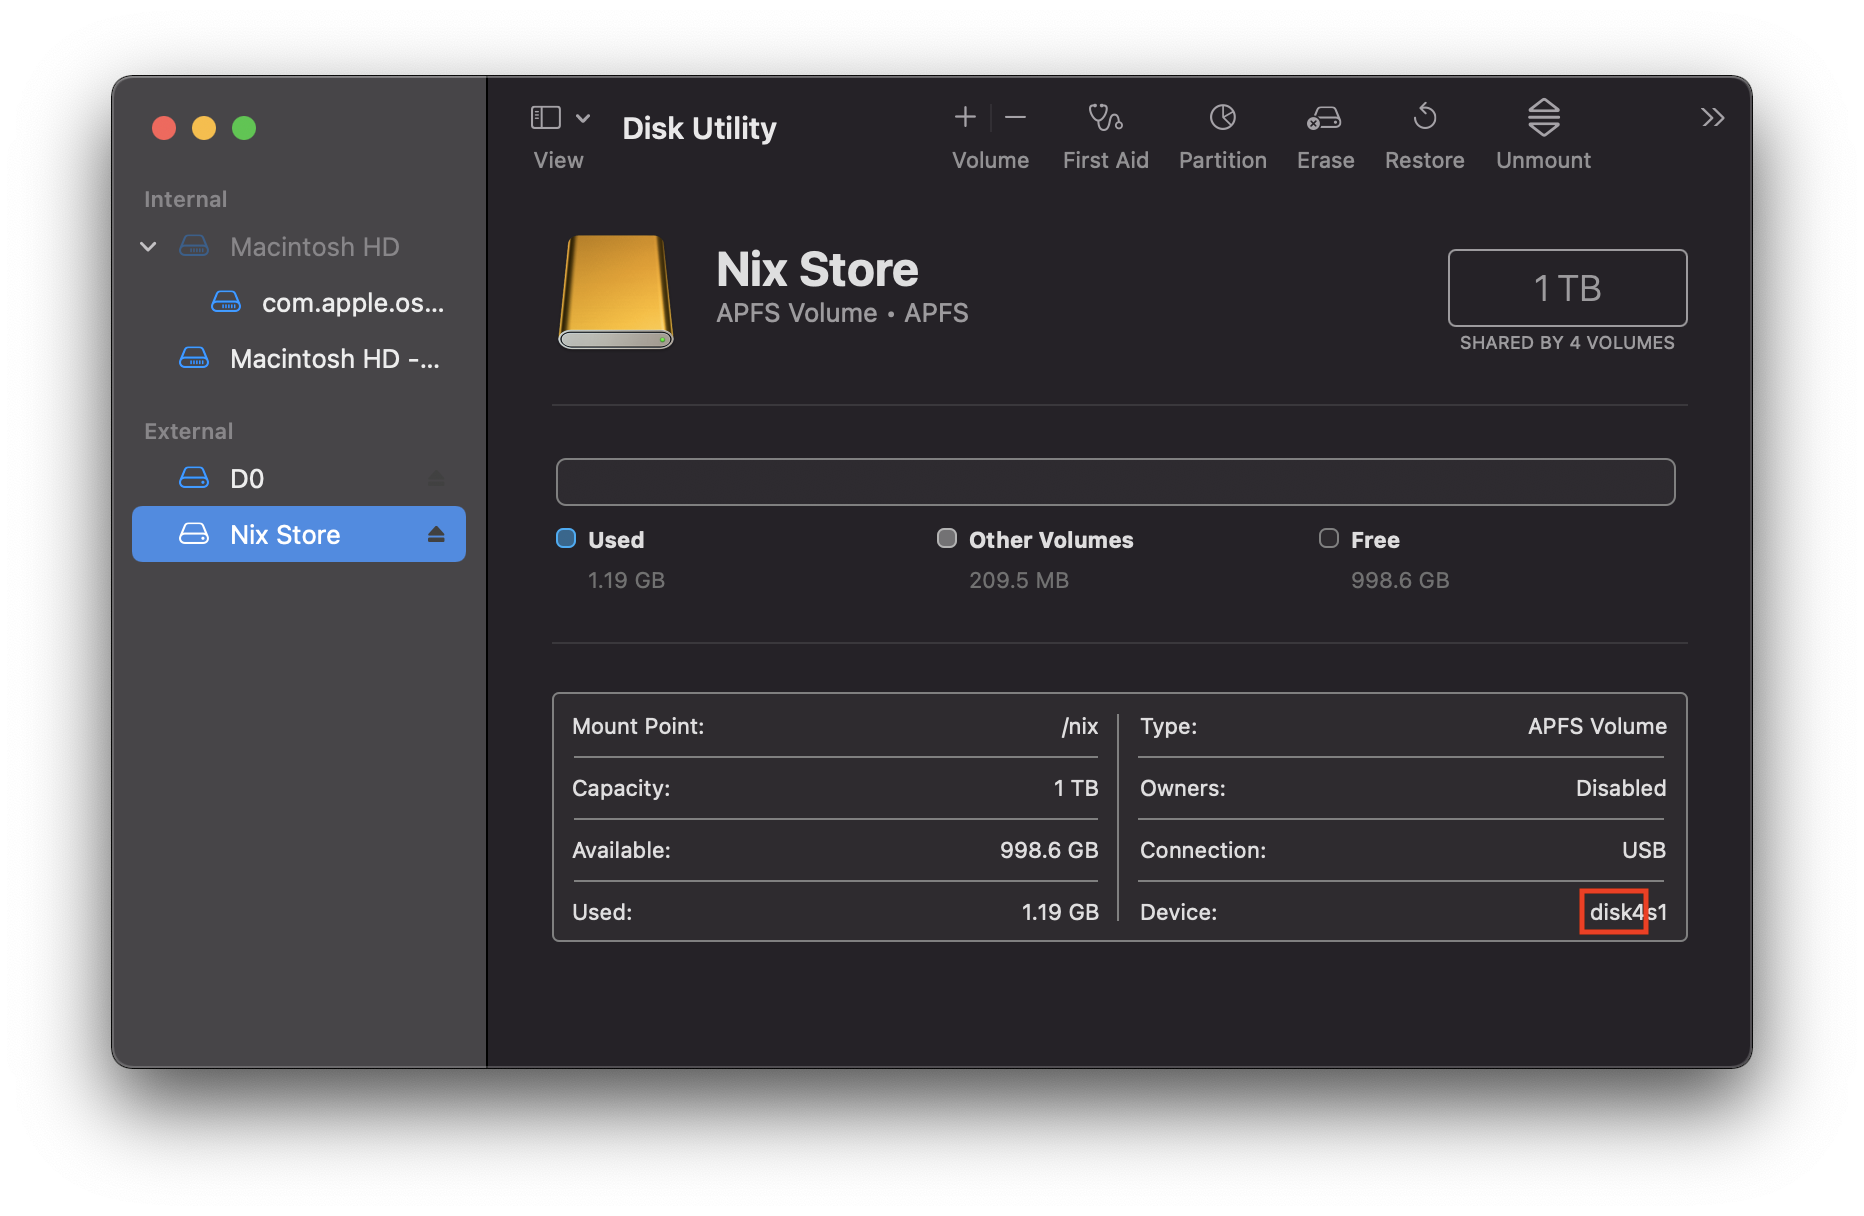
You can also use other methods, such us the diskutil list command.
Have this disk name ready.
Installation
1. Create the path /nix the macOS way.
Edit or create the file /etc/synthetic.conf, adding this line:
nix
Reboot the Mac.
2. Create a APFS volume for the nix store.
sudo diskutil apfs addVolume diskX APFS 'Nix Store' -mountpoint /nix
Make sure to replace diskX with the disk you identified in the preparation step.
3. Mount the volume.
Edit or create the file /etc/fstab, adding this line:
LABEL=Nix\040Store /nix apfs rw,nobrowse
Reboot the Mac.
4. Install Nix the "normal" way
sh <(curl -L https://nixos.org/nix/install)
5. You are done! Try it out. I ran this little example as a test and things appears to work as expected.
Bonus: using Nix in Fish shell
As a fish user, I'm used to fixing things up myself since software from non-fish users usually pretends fish doesn't exist. Anyways, in the final steps of its installation, Nix sets up a few environment variables in a bash script. I've adapted these specifically for fish on macOS. Add these to your config.fish:
set -x NIX_PROFILES "/nix/var/nix/profiles/default $HOME/.nix-profile"
set -x NIX_SSL_CERT_FILE "$HOME/.nix-profile/etc/ssl/certs/ca-bundle.crt"
set -x NIX_PATH /nix $HOME/.nix-defexpr/channels
set -x PATH $HOME/.nix-profile/bin $PATH
It shouldn't be to hard to do this on other OSes. The relevant information is in
~/.nix-profile/etc/profile.d/nix.sh.